

How To Install A Pull Up Bar Without Damaging Door
Pick the mounting style based on how serious you are. Over-the-door hooks are fine for bodyweight pull-ups and a few sets, but they hang load on trim and are not built for kipping or heavy weighted work. Wall- or ceiling-mounted bars screwed into studs are the proper solution for heavy or dynamic loading; they’re permanent but safe. If you want the most flexibility and zero door damage, buy or build a power rack with a pull-up bar—no compromises.
Table of Contents
Our Top Picks
Affiliate disclosure: if you buy through these links, we may earn a commission at no extra cost to you.


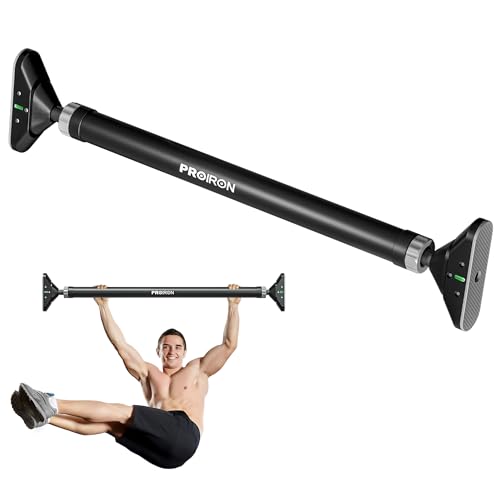
Factors to Consider
Mounting method: over-the-door vs wall vs ceiling vs rack
Load capacity and steel specs
Always lead with numbers: rated static capacity, dynamic capacity, bar diameter, and steel wall thickness. For serious lifters you want a solid 1¼"–1½" steel bar and at least 300+ lb rated for static pulls; 500+ lb rating or stud-mounted plates for weighted and kipping work. Check the wall thickness—look for 3 mm+ (roughly 11–14 gauge) or explicit load testing. Cheap stamped-steel door bars often advertise 250 lbs but use thin tubing and foam grips; avoid them if you train heavy.
Door-frame compatibility and clearances
Measure door width, jamb thickness, and headroom before you buy. Over-the-door bars need solid jamb trim and at least 2–3" clearance above the head for full ROM; no one wants to scrape their skull on a header. If your door has trim, crown molding, or hollow jambs, that changes the safe options—don’t force a fit. For wall/ceiling mounts, locate studs and confirm you have the vertical clearance for kipping arcs and muscle-up transitions.
Hardware, anchors, and installation quality
Hardware decides whether a bar is safe. For studs use 3/8" lag screws through a mounting plate or carriage bolts with backing; for masonry use proper sleeve or wedge anchors. Avoid products that rely solely on small sheet-metal screws or cheap toggle bolts for load-bearing connections. If the seller won’t list anchor specs or torque recommendations, count that product out.
Padding, finish, warranty, and value
Padding and paint matter for protection but they don’t replace structure. Look for welded joints, powder-coat finishes, and rubber contact pads to protect your jamb. A decent warranty (3+ years or lifetime on welds) signals confidence from the maker; cheap bars often come with token 1-year coverage. Price is important, but value is measured in safety and long-term use—buy once, buy steel, not plastic-coated junk.
Frequently Asked Questions
Conclusion
Don’t buy a lightweight, over-the-door bar because it’s cheap. If you train hard and care about safety, go stud- or ceiling-mounted with heavy-gauge steel or skip to a power rack with a pull-up bar. For renters or temporary setups, use a quality free-standing rig—less damage, more training longevity.


